

Food is among the most popular niches on social media. Food photographers and videographers turn the simplest dish into a drooling artwork. I joined the bandwagon a few years back.
Photography is an art. It is also a skill that can be learned. My tryst with photography began after I started blogging.
I discovered that photography isn’t as easy as it looks, even though everyone is constantly in photo mode these days. Taking enticing, award-winning photographs needs practice and experience.


It’s not just the device, it’s also the hands and eyes behind the device that matter. I must say, for most of my career, I relied on photographers and would critique at the drop of a hat. It’s only when I worked with a DSLR that I learned to admire the craft.
I am not a food stylist, so I did not set the dish on the plates or choose the cutlery. I simply allowed my eye to guide me, and would do more that raise my phone over the dish to click a photograph.
There are tips and tricks for food photography, should you like to go professional. I would suggest you enroll in a professional class, if you want to become a professional photographer who can be assigned by a media outlet, event company, hotel or restaurant or for generating books and blogs.


Here is a checklist for those aspiring to become food photographers:
1.Equipment: I have a basic Nikon DSLR D 3300 with a kit lens (18-55mm). I bought it in 2016 and now, it’s a little rusty. I wasn’t sure that I was going to go professional, but wanted to get into photography as I needed good pictures for my posts. I didn’t like to use standard pictures handed out by PRs or download from free sites as they didn’t really match my content. It’s been a great learning curve.
A brief checklist about lenses:
50mm is a good lens for beginners. You can take shots from many angles and in close surroundings, it gives great results.
24-70mm zoom lens is favoured for versatility.
60mm macro helps avoid distortion.
100/110mm macro, is good for portrait and vertical framing
80mm prime is good for wide set-ups.
I would suggest, you also invest in lighting and a bigger lens, that is 24-70mm, once you are confident. I am going to do that now, as I have plans to buy a new camera with bigger lens.
2. Lighting: This makes or breaks your photographs. As food needs more enticement and clarity, good lighting is crucial. With most restaurants offering soft lighting, you might want to carry a small one with you. I, normally, just carry the plate to a place where the light is more and my shadow doesn’t fall on the plate.
If you are shooting outdoors, for instance picnics and events, then you will certainly have to check your time during the day. Natural light is too harsh during the day and it’s too dark at twilight. Try taking your dishes in a slightly shaded corner, or hang some covering over the table.
3. Composition: This is important. You would not like to show empty or dirty plates and napkins, or soiled tablecloths and cutlery along with your delicious dishes. If you have a food stylist with you, nothing like it. If not, experiment with positions—try placing flower vases, candles, potpourri.
If you are doing studio shots, then adding some backdrops to match the cuisine helps. Your props, cutlery and ambience are important to give a creative feel.
4. Mood Board: I normally shoot photographs for reviews and listicles. So, I like to show full plates/beverages or platters or table laden with dishes or street vendors. Sometimes, I do like to take shots with half-eaten dishes or someone holding a muffin or pastry.
I am not fond of exterior shots of restaurants and their banners/logos. I am also not fond of showing people gobbling down their food—the open mouth doesn’t make for good shots.
However, if you like shooting for recipes, then you could show work in progress with ingredients in small bowls, or a bowlful of vegetables that you are going to cut with a knife. You can make flatlays as well of the preparation counter.
For cookbooks, you need polished and stylised photographs. This means glistening cutlery, well-placed ingredients, colours matched.
A single plate shot from above has a good feel. A spread on a table shows community vibes. It really depends on what you want to present to the viewer.

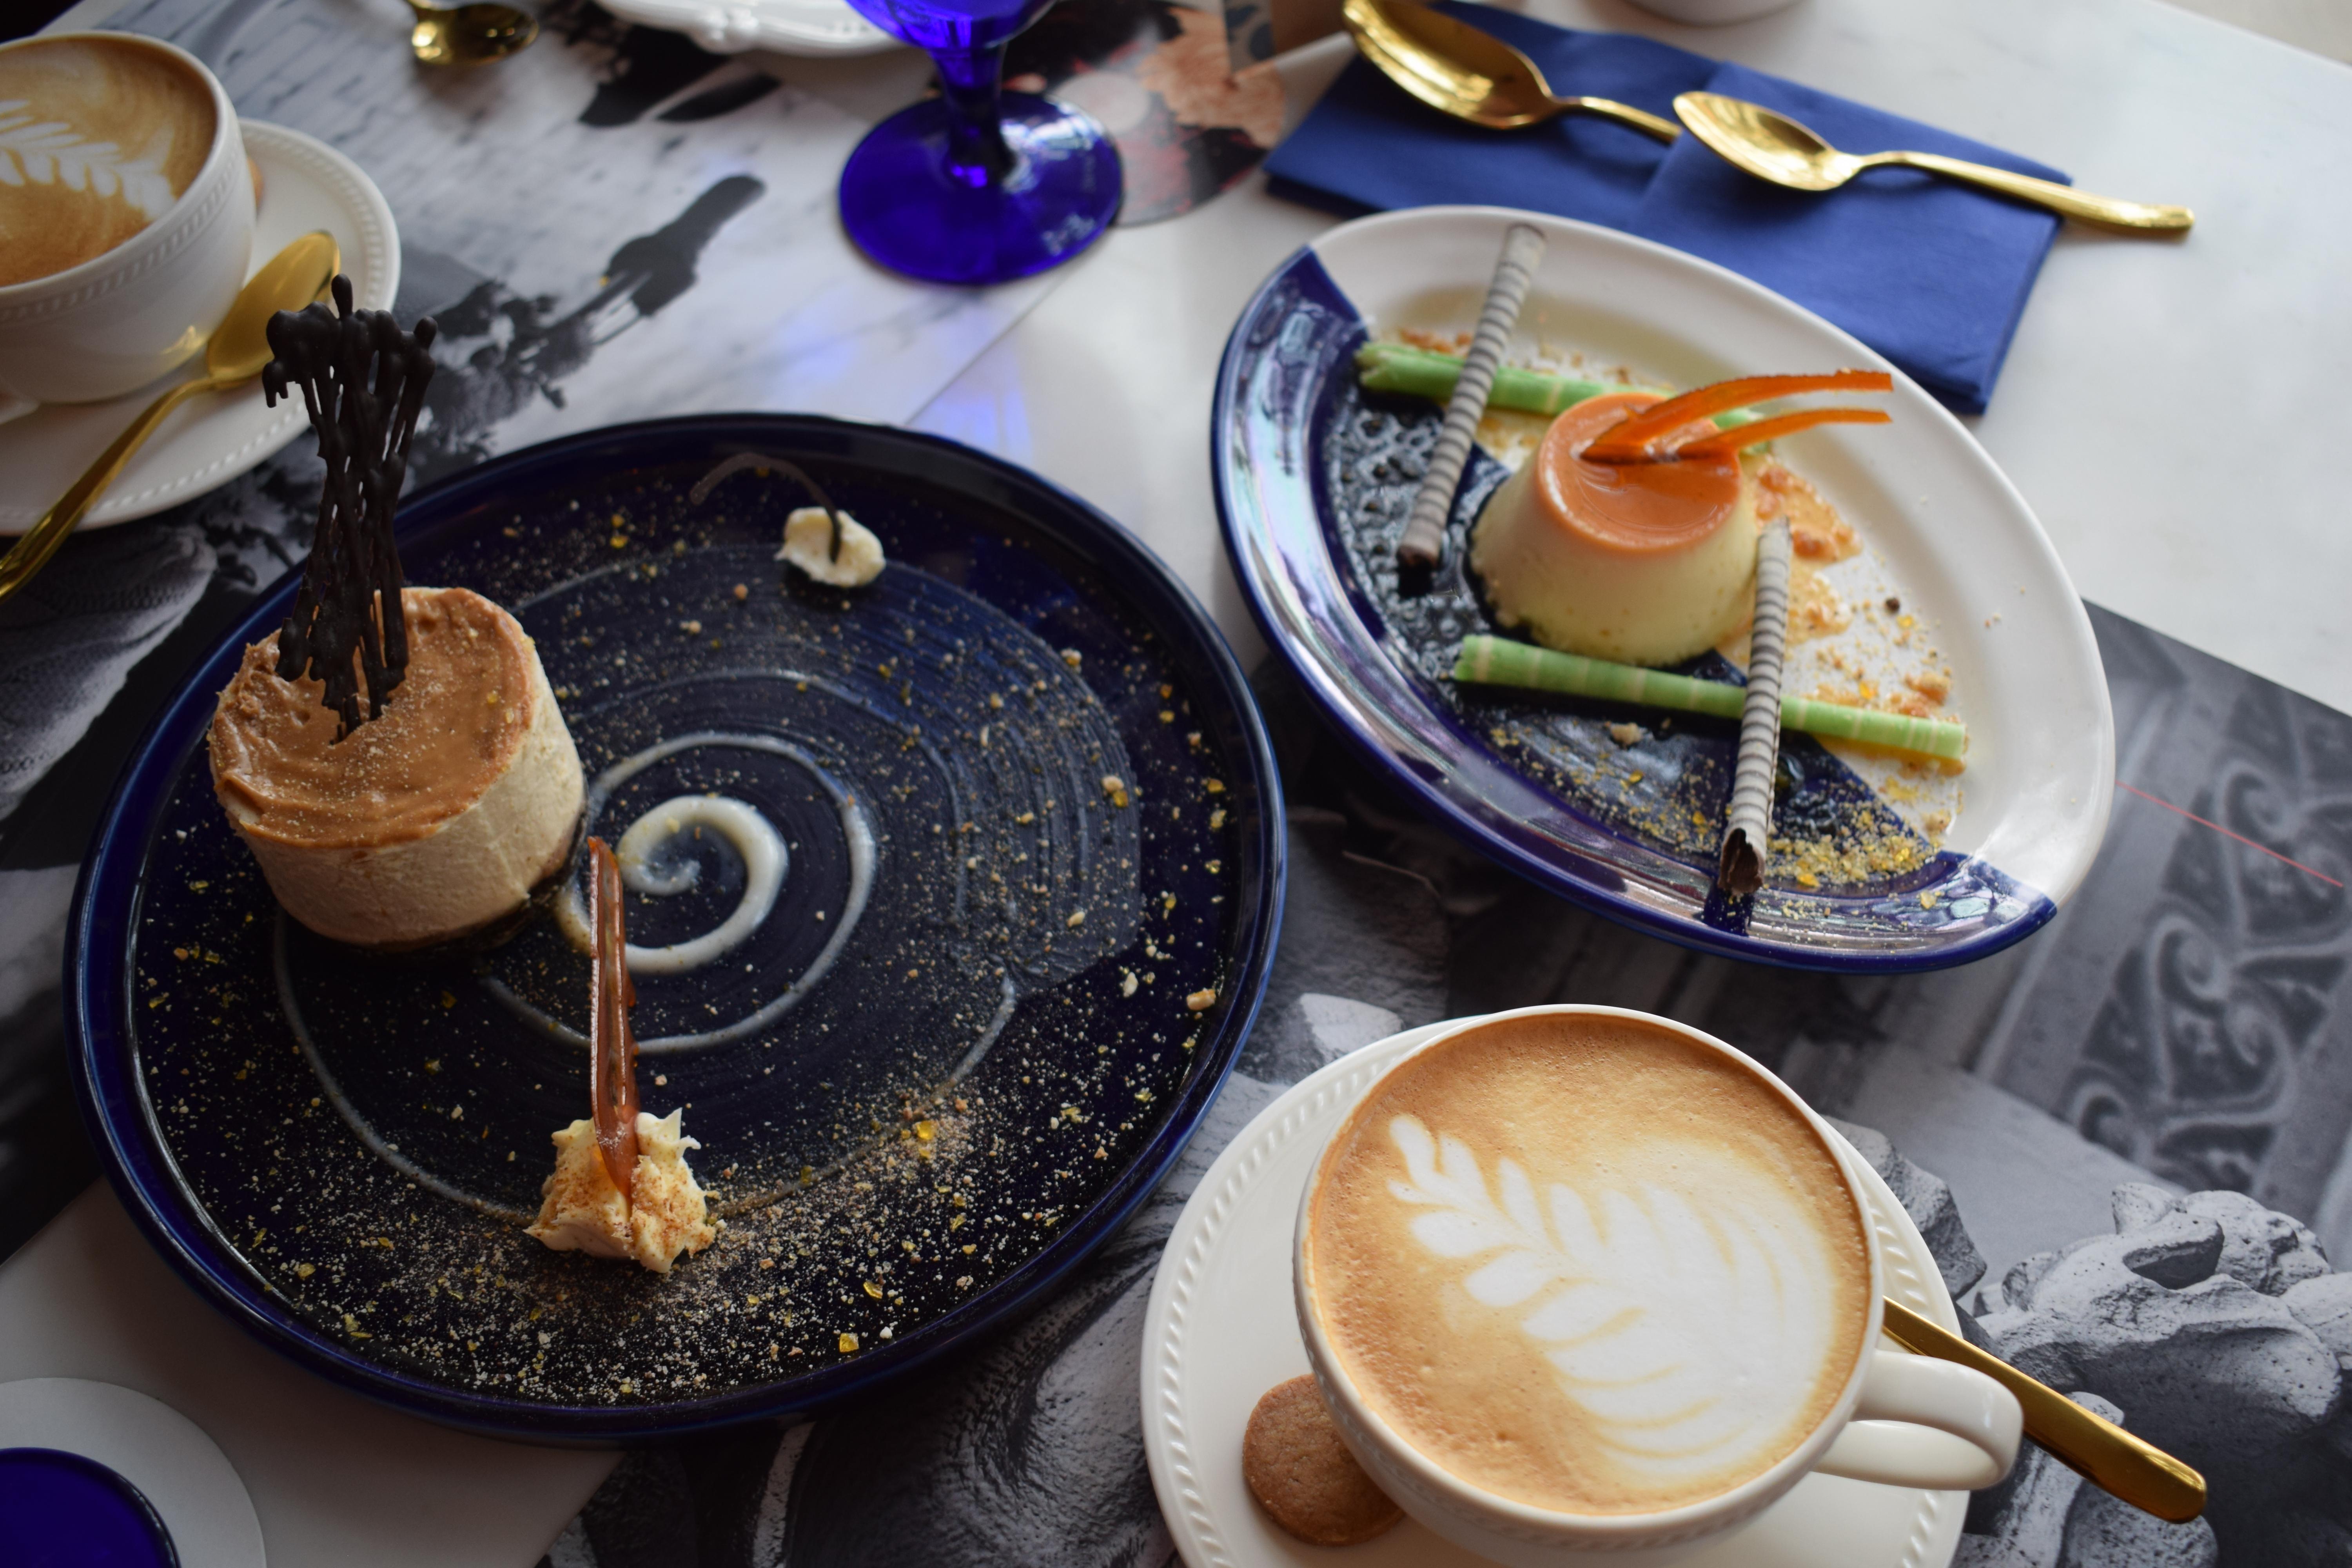
Desserts, The Leela Chanakyapuri, Delhi, India 
Sorbet made with NorthWest Cherries and topped with basil, The Leela Chanakyapuri, Delhi, India 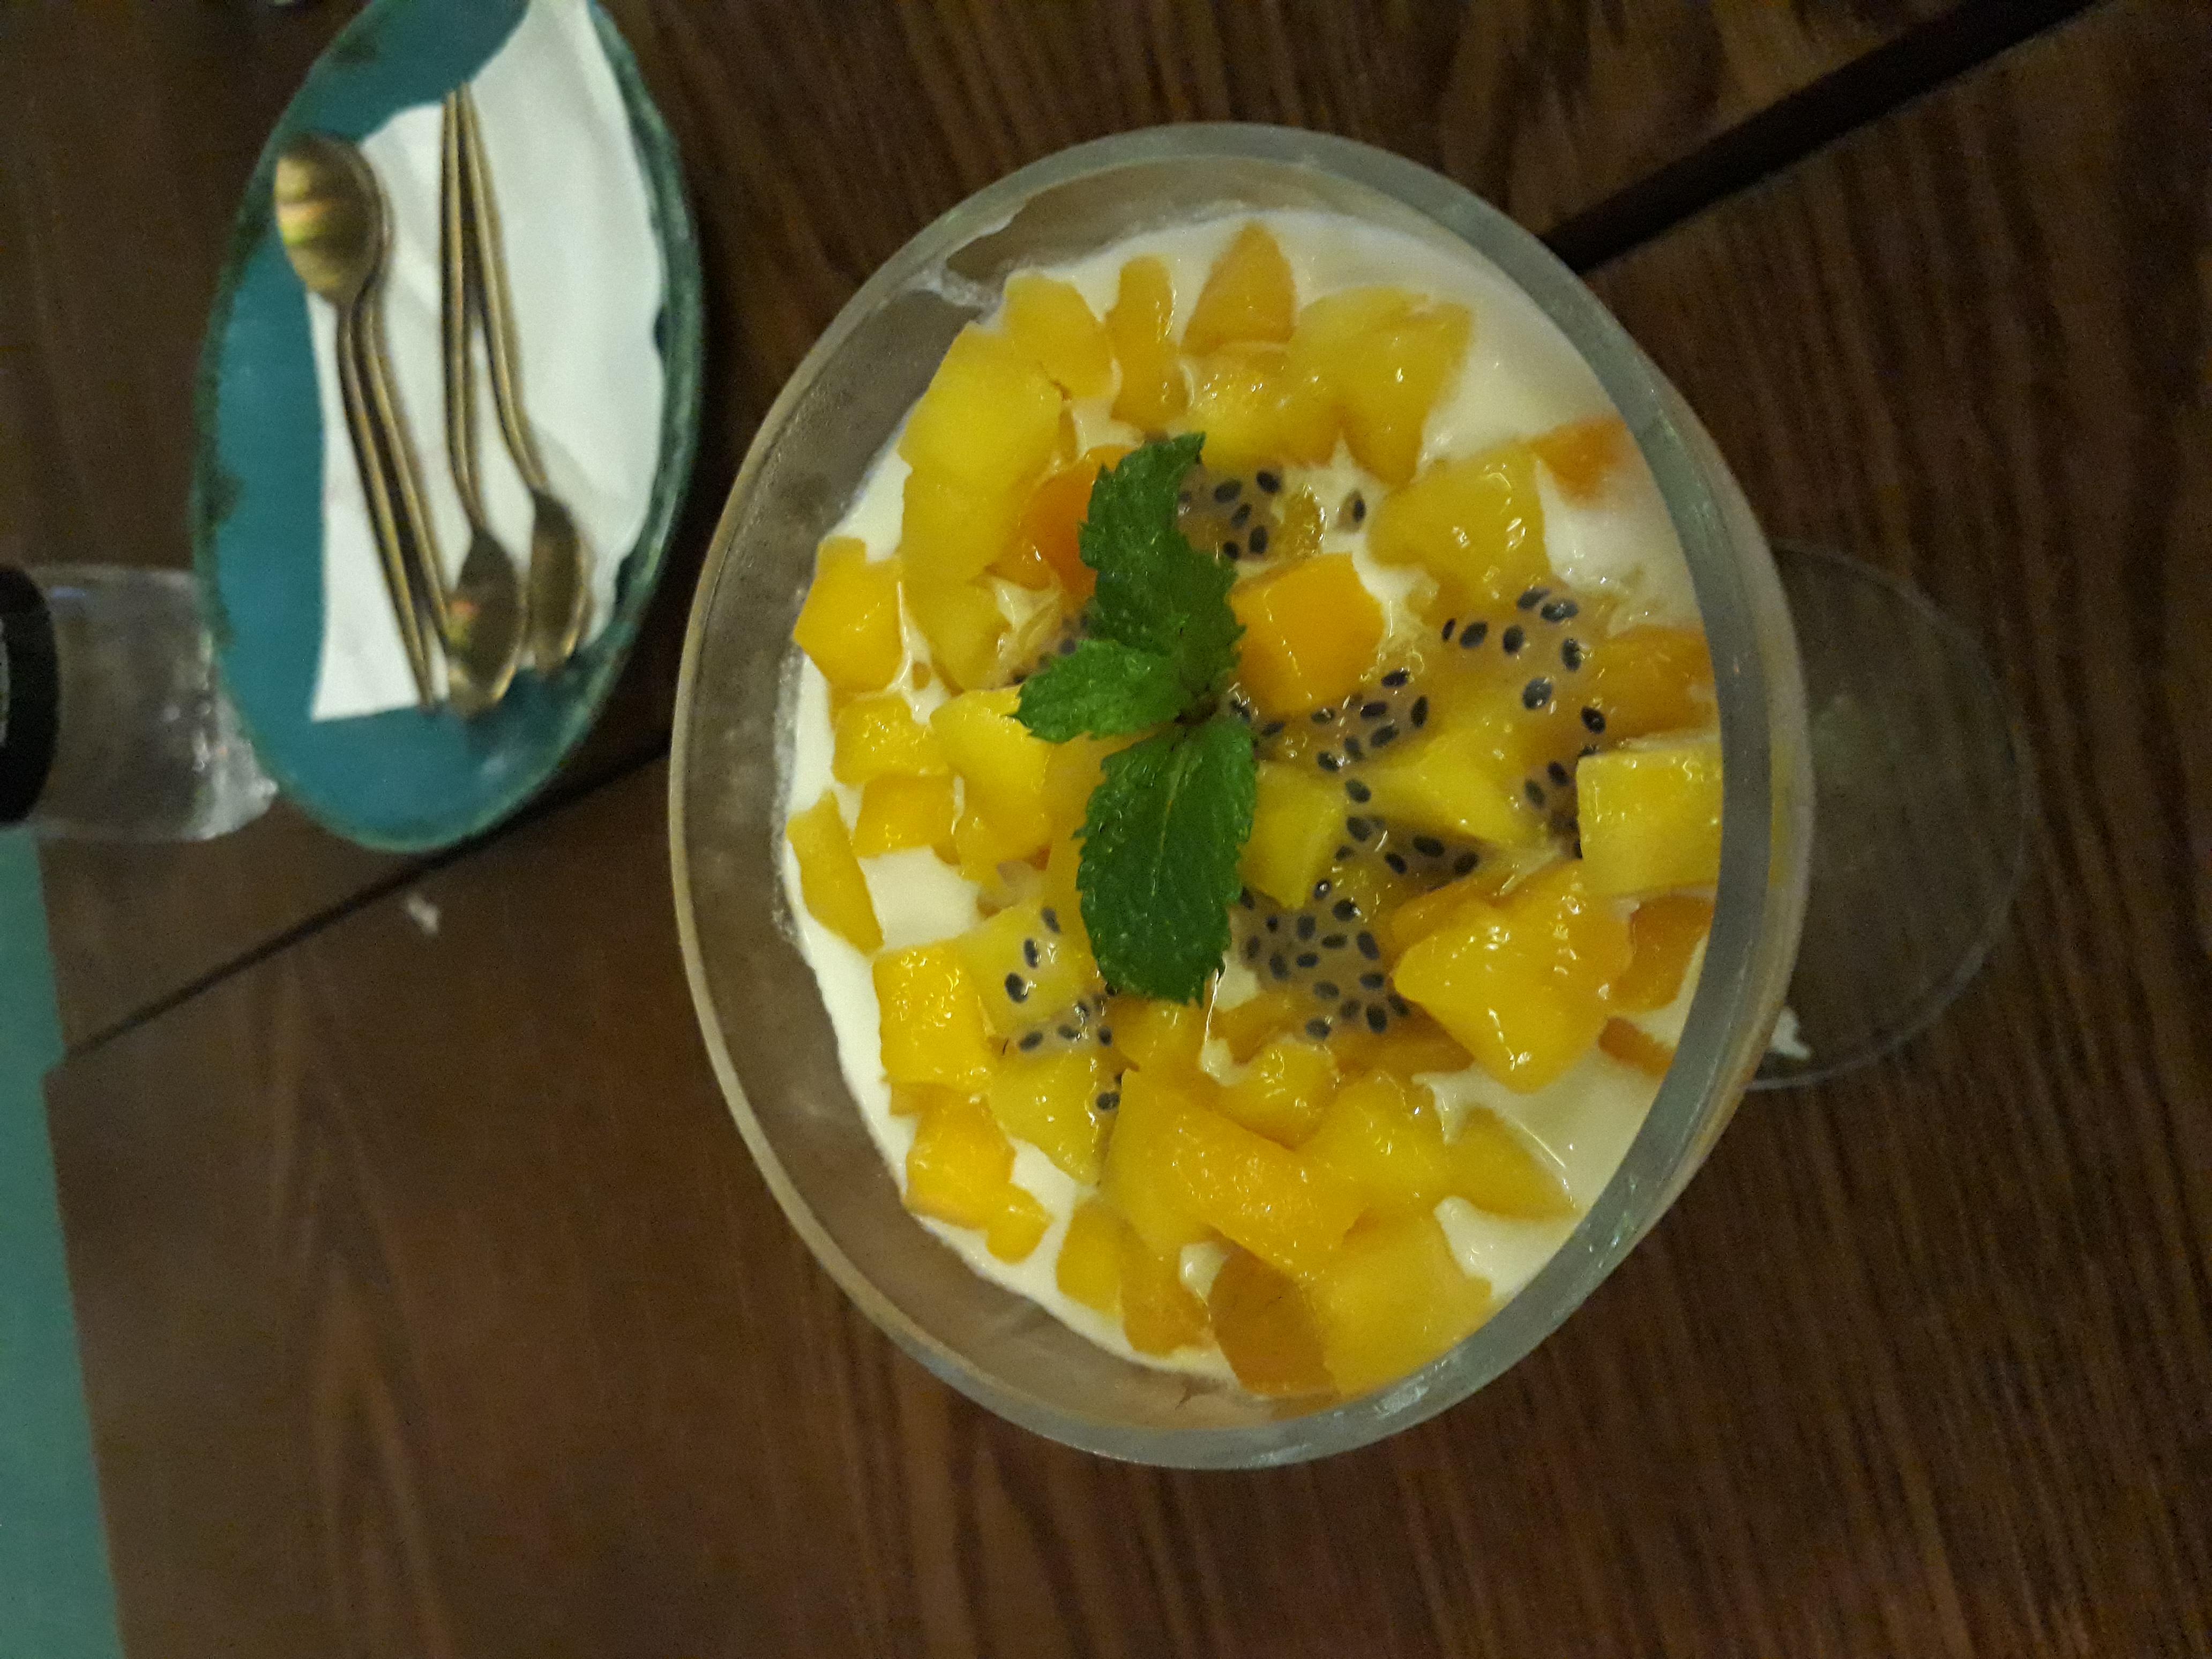
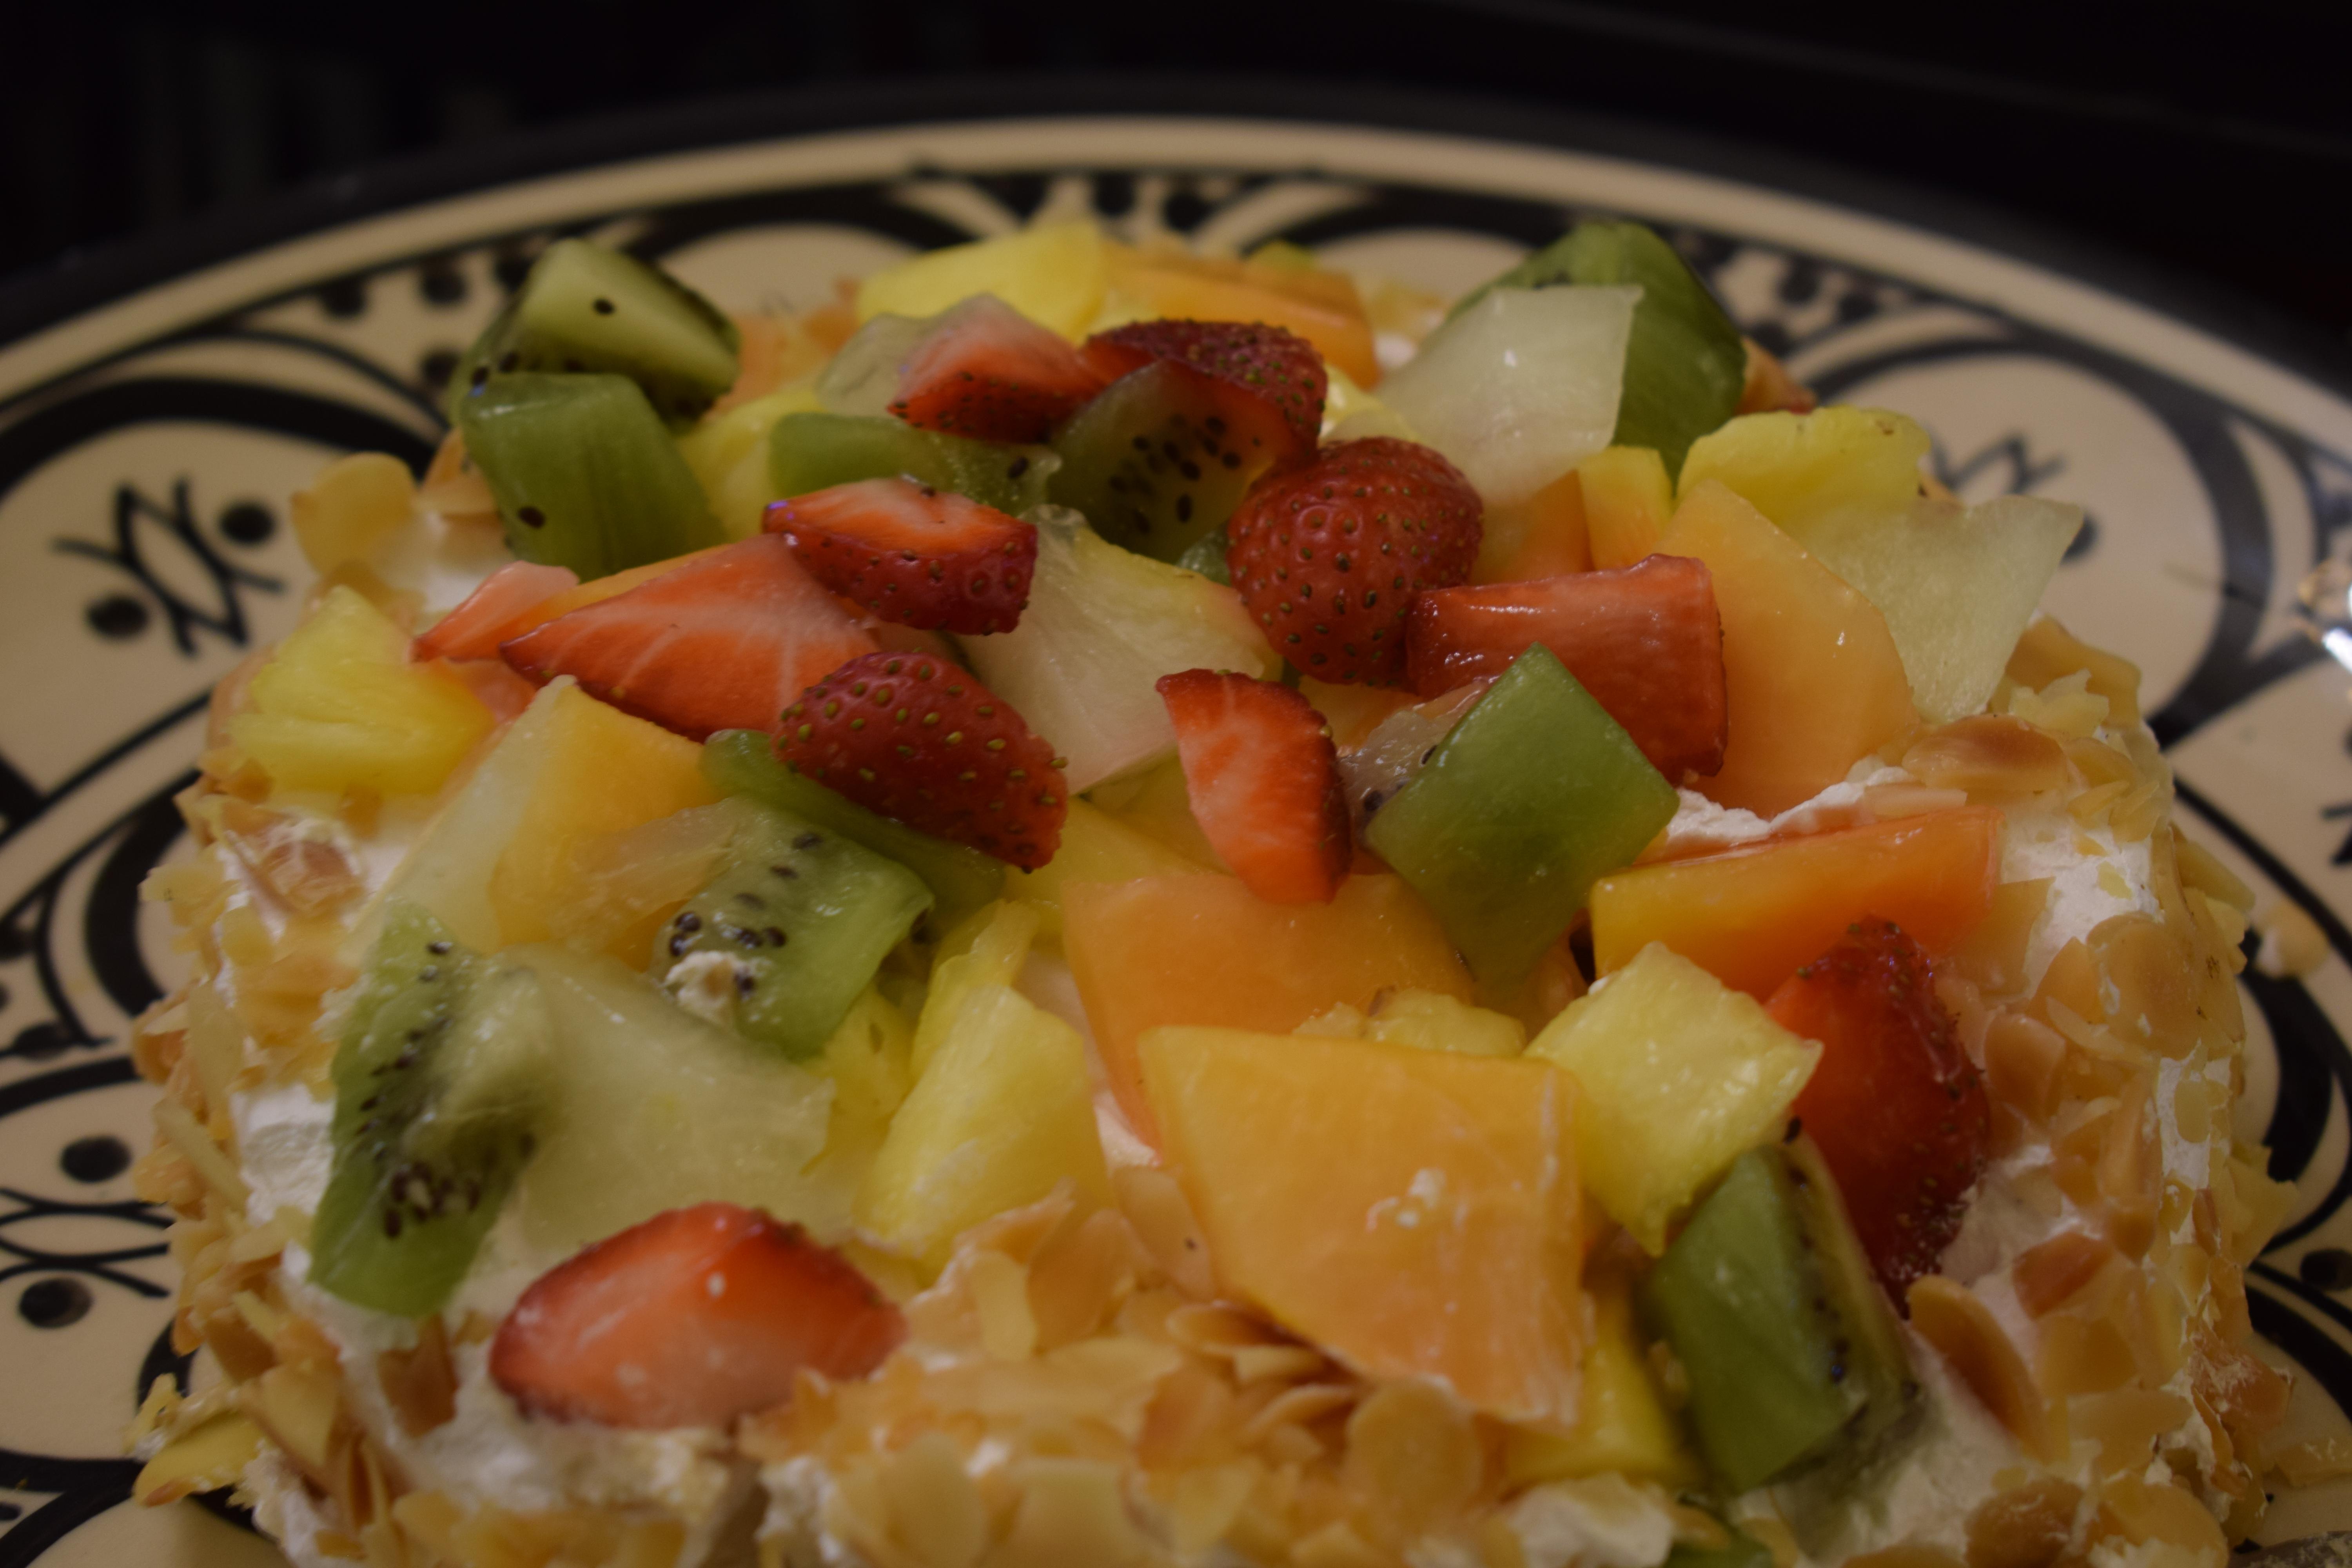
Sago Dessert with mango chunks, Vietnom, Cyber Hub, Gurgaon, Harayana, India 
Sushi platter at Kampai, Aerocity, Delhi, India 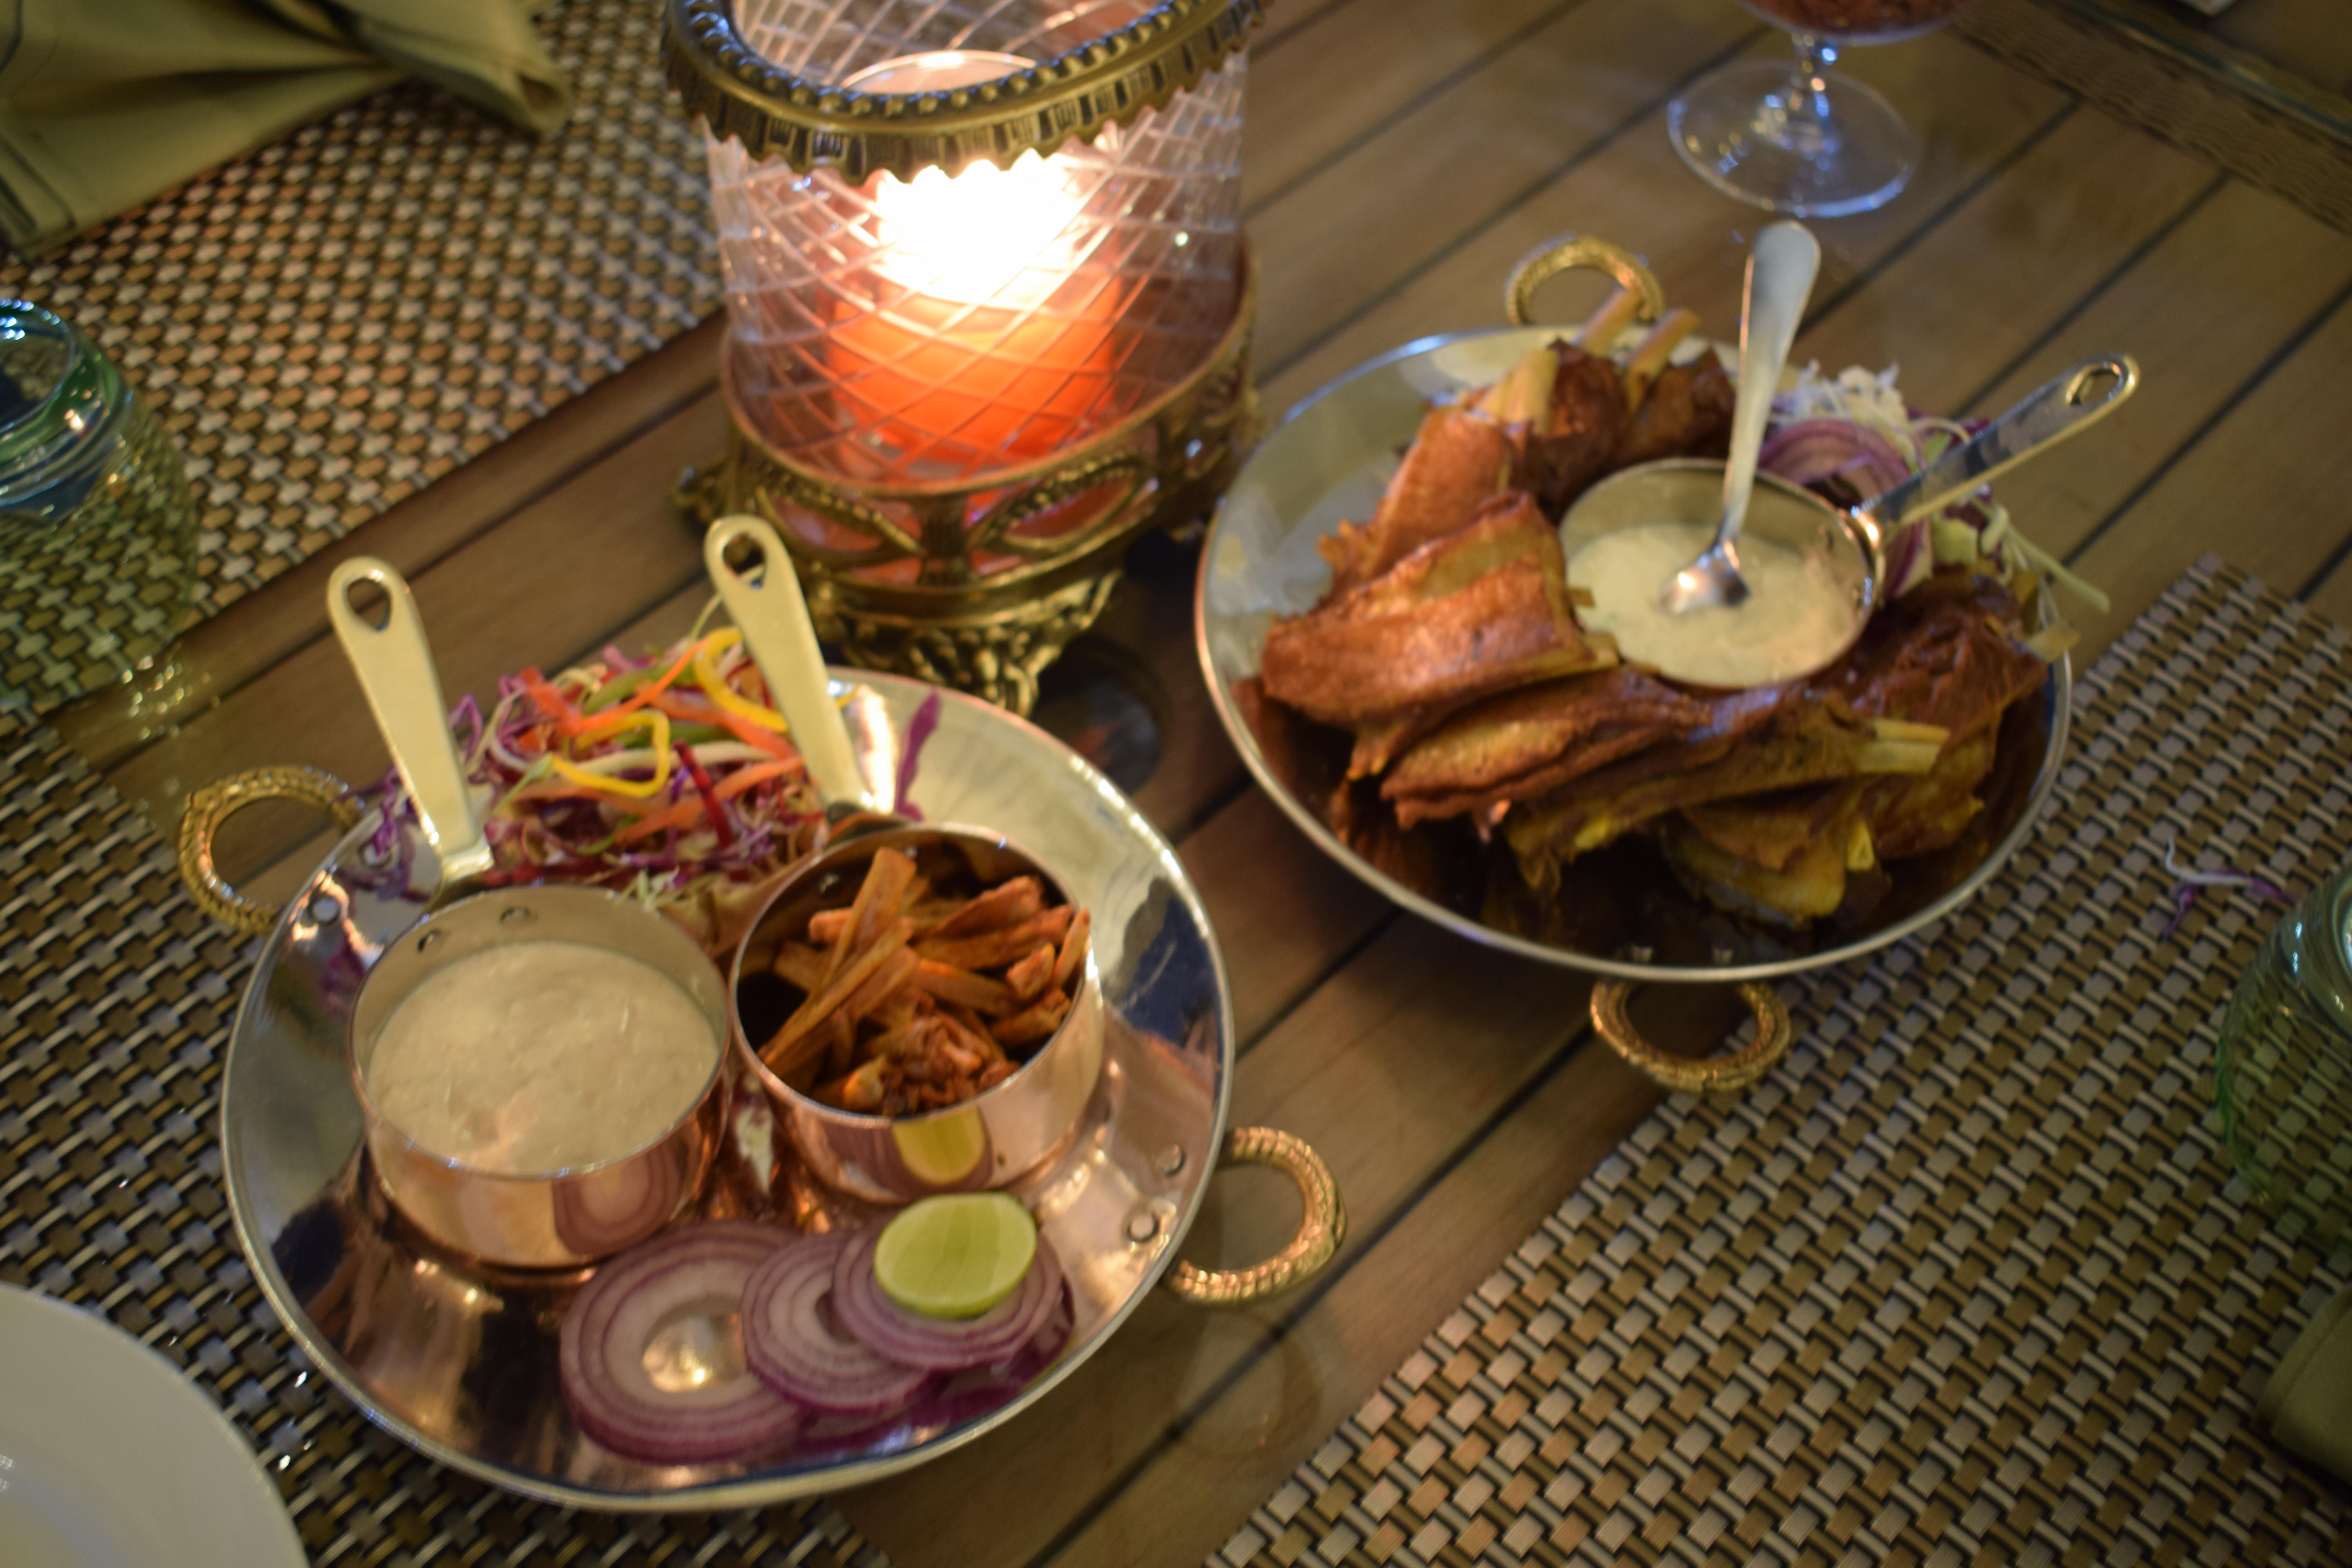
Kashmiri food, Blooms, Eros Hotel, Delhi, India
Good food photography also means learning to use your camera well and developing your own style. You should be familiar with the camera functions such as aperture, focus, ISO, angles, vertical or horizontal framing, the format you should shoot in and also editing. It’s best to follow the rule of thirds if you are just beginning your journey into food photography.
The web is full of professionals coaching students on food photography. I learned it through hits and misses and one short class.
You can also see my portfolio on iStock images.
What are your thoughts on taking photographs professionally?
This post was created for the Blogaberry Creative (Monthly) Challenge.

True, Ambica. I do random food clicks but still learning as I age… hehehe
LikeLiked by 1 person
Are the pics in the post all by you ? If yes, I need training from you and basic I know being a passionate photographer’s daughter. My father was more into character photography, I am not bad in that but I want to dive into other segments of photography too and want to learn from you.
LikeLiked by 1 person
Yes, all pics are mine! Basics are you pick a camera and start clicking. I also learnt a lot from youtube and watching photographers.
LikeLike
Taking a photograph is one thing. To make your subject of photography beautiful us another. Food photography is no different. Good to know so much equipment and so many conditions would be needed and must be met, so that food looks in a photograph.
LikeLike
Great tips Ambica,I vlog about food and I think only posts with good looking food pictures get clicked, so food photography really can improve the value of someone who writes about food. The tips about DSLR are very helpful but the cost seems as much as my phone, so I end up using my phone mostly, easy to carry too. But I am seriously contemplating getting DSLR and learning to use it well.
LikeLiked by 1 person
A good moble is a boon.
But the level of pictures changes with DSLR..it’s range and flexibility
LikeLiked by 1 person
Such helpful insights and tips for those who are serious about becoming professional food bloggers.
LikeLiked by 1 person
Thank you Ambica. I am the worst at taking pictures of food. And also don’t like who take pictures for me. Your post is rescued. I learnt so many things. Now I will trying it with your tips.
LikeLiked by 1 person
These are very useful tips, especially the lighting. As you said, it can make or break the photo. As a recipe blogger, it takes us more to style the dish and take photos than the actual cooking.
LikeLiked by 1 person
I can imagine. Styling is a full-time job!
LikeLiked by 1 person
I stated food blogging at 50 and I am 59 now but I still cannot click very good pictures although I use the Foodie app. It is extremely good for taking food pics.
LikeLiked by 1 person
Your article on food photography is insightful and beginner-friendly. The equipment tips, lighting, composition, and mood board guidance are practical. It’s a valuable resource for aspiring food photographers. Well done!
LikeLiked by 1 person